
So i had first thought that we would pop the keel on at the pier using the the crane. Easy. But not half as fun as doing it in the rather small shed with our own muscle power. Dad and Richard come up for a few days to join in the fun. First job to do was lift the boat up into the roof of the shed then slide the two tons of keel across the floor without it falling over on us and finally gently lower the boat onto the keel hoping the newly drilled keel bolt holes are in the right places. This plan worked a treat.
To lift the boat up I felled and collected a few trees from the local woods (thanks Northwoods). These provided four good strong posts to lift the boat up on. They were stood up at 4 strategic points around the boat, then block and tackles hung from the tops and big b
 oat slings slung under the hull and connected to the tackles. We then lifted the boat about 5 foot up to give the keel good clearance. This took five people - one on each tackle and one to give orders (me!) . Next we dragged the keel sideways across the rough concrete floor using a smallish chain hoist working horizontally . We made a good anchor using thunderbolts in the concreat floor. To reduce friction we managed (j
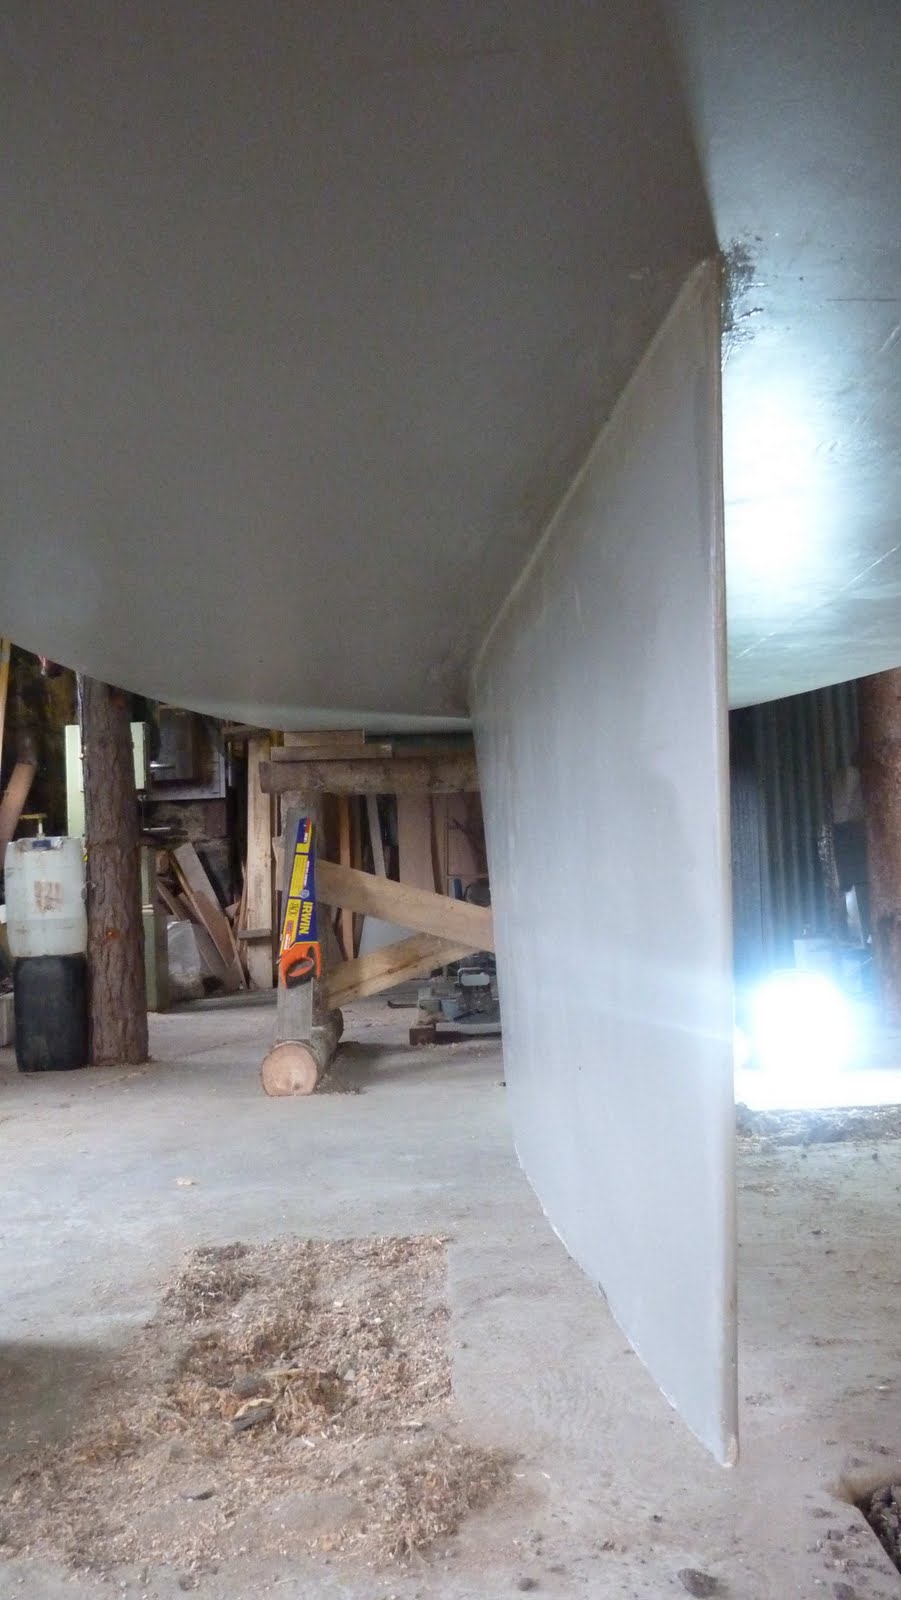 ust) to get two scaffold poles under the keel. It took to people to operate the chain hoist to lift the keel (i think it was on its limit).
We made a template to drill oversize holes for the keel bolts (24mm for 20mm bolts). The keel was then lowered onto a load of thickened epoxy and also epoxy poured around the bolts inside the boat (filling the + 4 mm gap) befor the nuts went on. Interestingly one bolt hole took about a pint of epoxy!! humm.
The whole lot looks totally solid and i would not fancy trying to get it off again.
Richard whipped up some fantastic trestles using only a chainsaw which the boat is now sitting on.
No comments:
Post a Comment